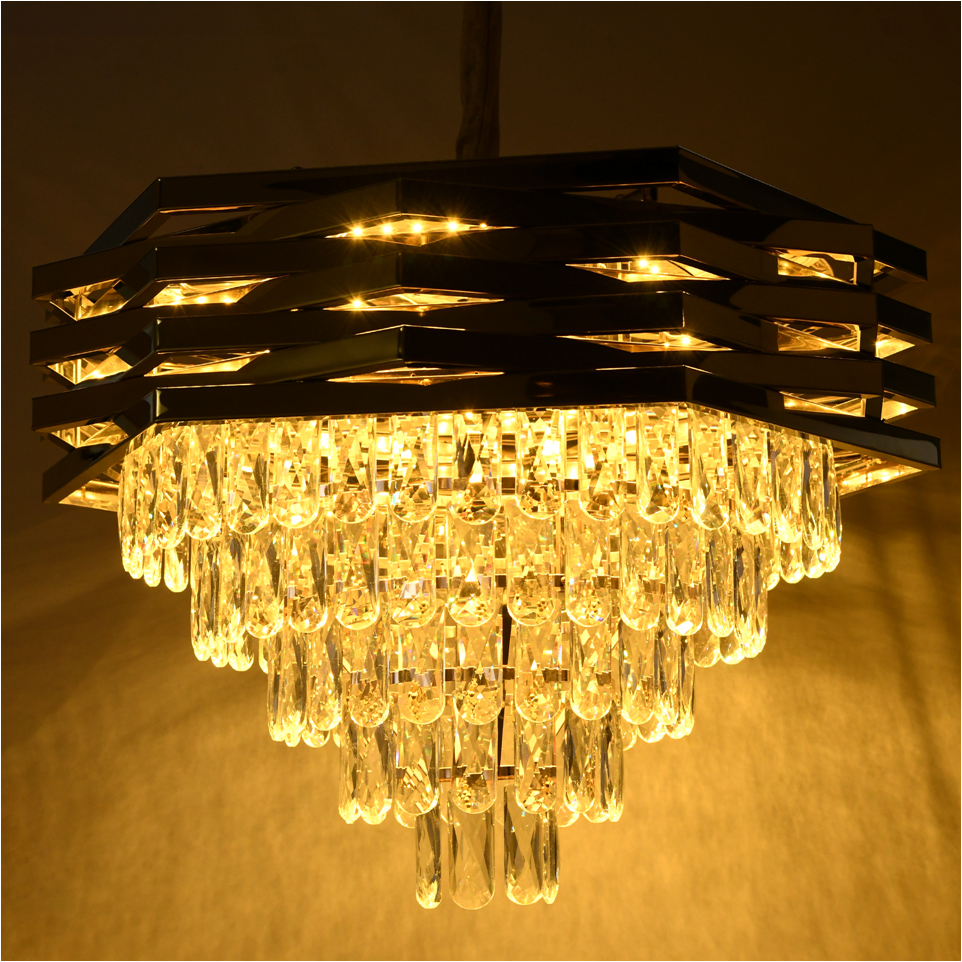
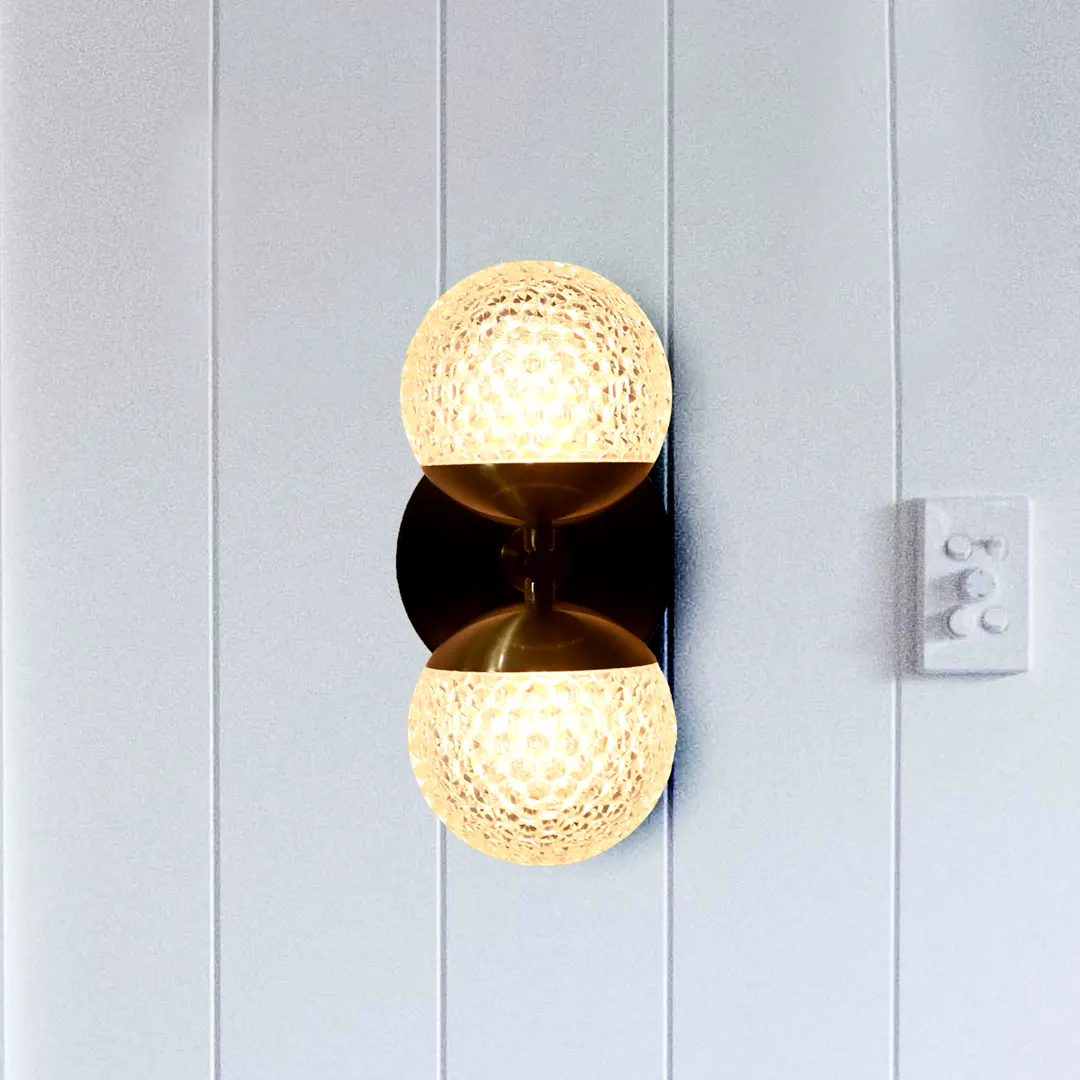
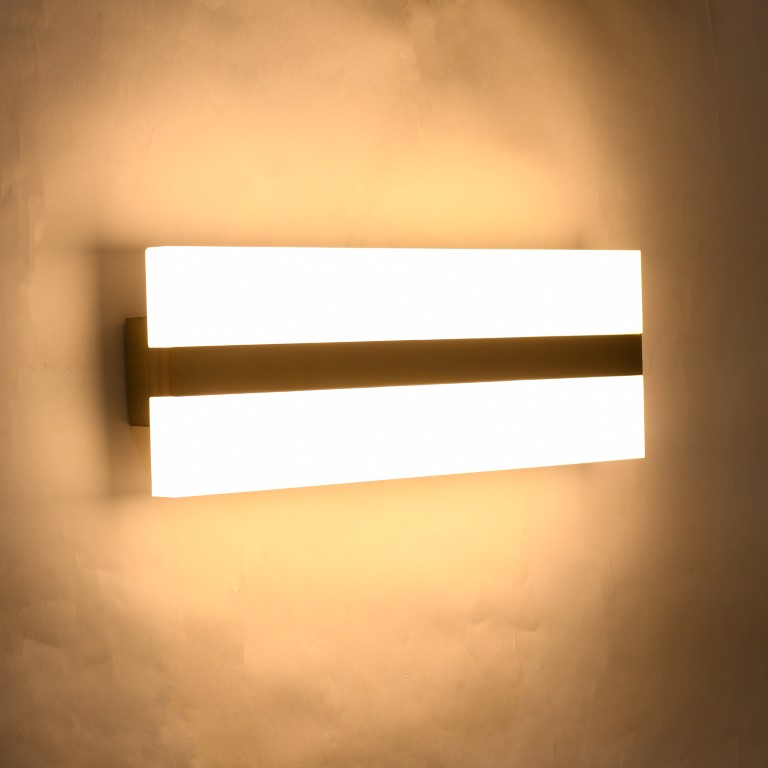
How to install the chandelier?
Installing a chandelier can be a rewarding and elegant addition to your home decor. While it might seem like a daunting task, with careful planning and the right tools, you can successfully install a chandelier yourself. Here's a step-by-step guide to help you through the process:
Before You Begin:
Safety First: Before starting, ensure that the power to the circuit you'll be working on is turned off at the circuit breaker to prevent any electrical accidents.
Gather Supplies: You'll need a chandelier kit, a voltage tester, a screwdriver, wire nuts, pliers, a ladder, and possibly a friend to help with the installation.
Installation Steps:
Choose Location: Decide where you want to install the chandelier. Make sure it's centered over the area you want to illuminate, such as a dining table or entryway.
Measure and Mark: Measure the height from the ceiling to where you want the bottom of the chandelier to hang. Mark this spot with a pencil. This will help you during installation.
Mounting Bracket: Install the chandelier's mounting bracket. Follow the manufacturer's instructions to attach the bracket to the ceiling electrical box. Make sure it's secure and can hold the weight of the chandelier.
Wiring Preparation: Most chandeliers have multiple wires: black (hot), white (neutral), and green or copper (ground). Strip the ends of these wires, exposing about half an inch of wire.
Hang Chandelier: With a friend's assistance, gently lift the chandelier and hang it from the mounting bracket. The wires should be hanging through the center of the chandelier.
Connect Wires: Match the chandelier's wires to the corresponding wires in your electrical box: black to black, white to white, and green/copper to green/copper. Use wire nuts to secure the connections. Wrap each connection with electrical tape for added safety.
Secure Wires: Carefully tuck the connected wires into the electrical box. Attach the canopy (decorative cover) to the mounting bracket, hiding the wires and connections.
Install Bulbs: Depending on your chandelier's design, insert the light bulbs and any shades or covers that came with it.
Turn on Power: Turn the power back on at the circuit breaker. Use a voltage tester to ensure that the electricity is flowing to the chandelier without any issues.
Test and Adjust: Switch on the chandelier and ensure all the bulbs are working properly. If any bulbs are not lighting up, check the connections and try replacing the bulbs.
Adjust Height: If necessary, adjust the height of the chandelier by raising or lowering the chain or cord. Make sure it's at the desired level.


